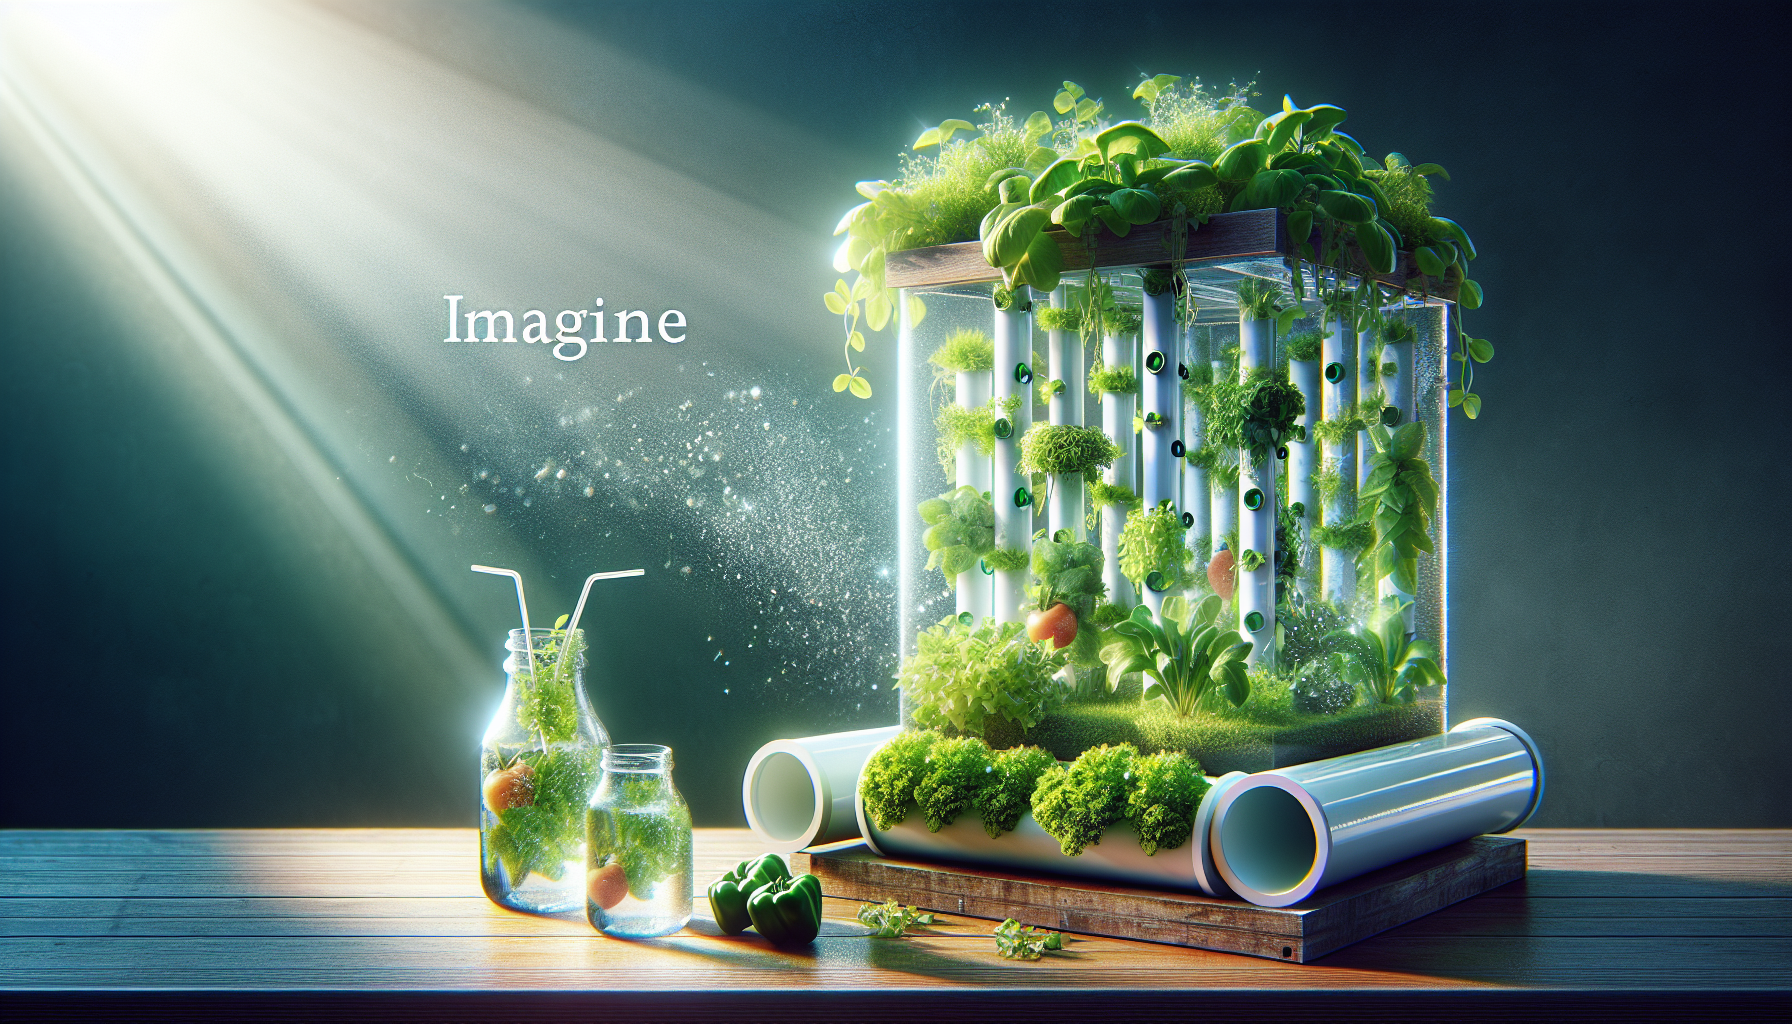
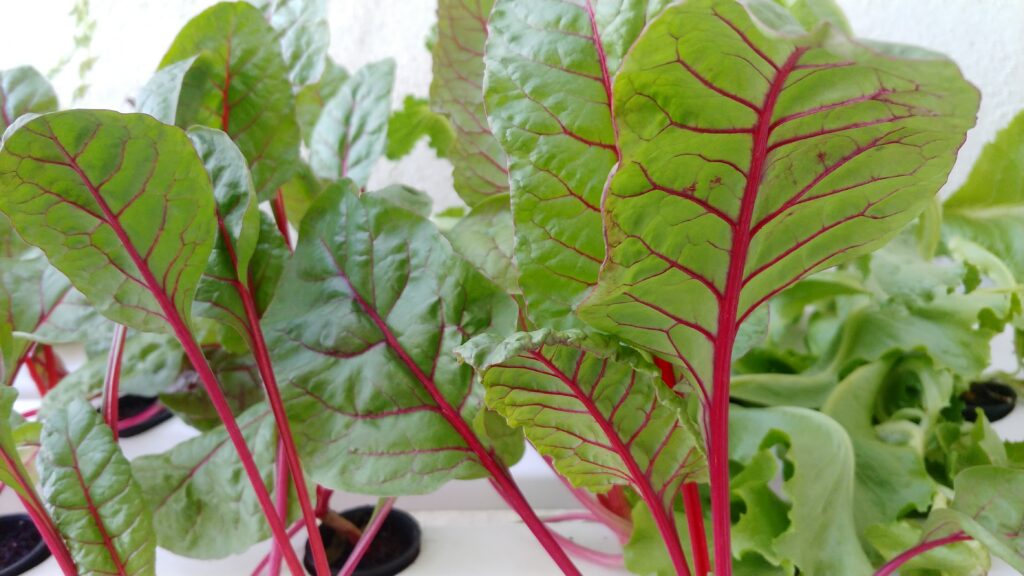
Imagine being able to grow fresh, vibrant plants in your own home, all year round, without the need for soil or traditional gardening methods. With a DIY hydroponic system, this dream can become a reality. By harnessing the power of nutrient-rich water and carefully controlled growing conditions, you can create an indoor garden that will not only provide you with a continuous supply of herbs, vegetables, and flowers, but also add a touch of natural beauty to any space. In this article, we will explore the world of DIY hydroponics, discussing the basics of this innovative gardening technique and providing step-by-step instructions on how to build your very own hydroponic system. Get ready to embark on a green thumb adventure that will transform the way you think about gardening.
Materials and Tools
Waterproof container
A waterproof container is essential for creating a successful DIY hydroponic system. This container will hold all the necessary components and prevent any water leakage or damage to your surroundings. Make sure to choose a container that is large enough to accommodate your plants and has a sturdy construction to withstand the weight of the system.
Grow tray
The grow tray is where your plants will grow and receive their nutrients. It should fit perfectly on top of the waterproof container and have enough space to accommodate the number of plants you intend to grow. A grow tray with separate compartments for individual plants can help prevent root tangling and improve plant growth.
Lid
A lid is needed to cover the grow tray and create a controlled environment for your plants. The lid should fit securely on the grow tray and have openings for the net pots and air pump tubing. This will help maintain the optimal conditions for your plants to grow.
Grow media
Grow media is the material that supports and anchors the plants’ roots in the hydroponic system. There are various options available, such as expanded clay pellets, coco coir, rockwool, and perlite. Choose a grow media that suits your plant’s needs and provides good water retention, aeration, and drainage.
Net pots
Net pots are small plastic containers with holes on their sides. These pots hold the plants and allow their roots to grow through the holes, being exposed to the nutrient-rich water. The size of the net pots should match the size of your plants’ roots and fit securely into the holes drilled in the grow tray.
Air pump
An air pump is an essential component of a hydroponic system as it provides oxygen to the plant roots. It supplies air to the air stones, creating bubbles in the nutrient solution and oxygenating the water. Choose an air pump with sufficient capacity to meet the oxygen requirements of your plants.
Air stones
Air stones are porous stones that emit tiny bubbles when connected to an air pump. These bubbles increase the surface area of the nutrient solution exposed to air, allowing for efficient oxygenation. Place the air stones strategically in the container to ensure proper circulation of oxygen throughout the water.
Tubing
Tubing is used to connect the air pump to the air stones. It should be of appropriate length and diameter to reach from the air pump to the bottom of the container. Ensure a snug fit and avoid any kinks or bends that could restrict airflow.
Nutrient solution
The nutrient solution is a mix of essential minerals and nutrients that provide the plants with everything they need to grow. You can either purchase a pre-made nutrient solution or create your own by combining the necessary elements. Ensure that the solution is properly balanced and contains the required proportions of macronutrients and micronutrients.
pH test kit
Maintaining the optimal pH level is crucial for the health of your plants in a hydroponic system. A pH test kit allows you to measure the pH of your nutrient solution regularly. It should include pH test strips or a pH meter and a set of pH adjusting chemicals to bring the pH within the appropriate range.
Preparing the Container
Choose an appropriate container
When selecting a container for your DIY hydroponic system, consider the size and number of plants you plan to grow. Ensure that the container is waterproof and has enough capacity to hold the necessary water and nutrient solution. Additionally, opt for a container with a sturdy construction to support the weight of the system and prevent any leakage.
Drill holes for net pots
To allow the plants’ roots to grow through and access the nutrient solution, you need to drill holes in the grow tray. The size of the holes should match the diameter of the net pots you will be using. Space the holes evenly according to the number of plants you intend to grow, ensuring there is enough room for each plant to thrive.
Create a drainage system
While hydroponic systems are typically water-based, it’s important to establish a drainage system to prevent waterlogging and ensure proper aeration for the root zone. Ensure that the container has small drainage holes near the bottom to allow excess water to escape. Placing a tray or a catchment system beneath the container can help collect the drained water and prevent mess.
Secure the lid
To create a controlled environment for your hydroponic system, it’s essential to securely position the lid on top of the grow tray. This helps retain moisture, regulate temperature and humidity levels, and minimize the risk of contamination. Ensure that the lid fits snugly and seals the grow tray effectively.

Setting up the Air Pump and Air Stones
Attach tubing to the air pump
Begin the setup process by connecting the tubing to the air pump. The tubing should be long enough to reach from the pump to the bottom of the container. Insert one end of the tubing securely into the outlet nozzle of the air pump, making sure it forms a tight seal to avoid any air leakage.
Insert air stones and secure them in the container
Next, place the air stones into the container. The air stones should be evenly distributed to ensure proper oxygenation throughout the nutrient solution. Secure them in place by attaching the other end of the tubing to each air stone. Make sure the air stones are fully submerged in the nutrient solution, allowing the air bubbles to rise and oxygenate the water effectively.
Installing the Grow Tray
Position the grow tray on top of the container
Carefully position the grow tray on top of the waterproof container, aligning it properly with the container’s opening. Ensure that the grow tray sits securely and maintains stability throughout the hydroponic system setup.
Ensure proper alignment and stability
Take a moment to assess the alignment and stability of the grow tray on the container. Make any necessary adjustments to ensure that it sits level and centered. This will ensure that the water and nutrient solution evenly distribute to all plants and prevent any imbalance.

Adding Grow Media
Select the suitable grow media
Choose a suitable grow media that provides good drainage and aeration for your plants’ roots. Popular options include expanded clay pellets, coco coir, rockwool, and perlite. Consider the specific requirements of your plants and select the grow media that best suits their needs.
Fill the grow tray with the media
Once you have selected the appropriate grow media, fill the grow tray with it. Spread it evenly, ensuring that the media covers the entire surface of the tray. The depth of the media should be sufficient to support the plants’ roots and allow them to anchor securely.
Moisten the media for planting
Before planting your seedlings or germinated seeds, it’s essential to moisten the grow media. This ensures that the roots receive immediate access to moisture upon planting. Water the media evenly, allowing it to absorb moisture without becoming waterlogged. Maintain proper moisture levels throughout the growth cycle to promote healthy plant growth.
Planting in Net Pots
Place net pots in the holes
Take the net pots and insert them into the holes you drilled in the grow tray. Ensure that the pots fit securely in the holes and sit at a level position. The net pots should be easily accessible for placing and removing plants during the growth cycle.
Transfer seedlings or germinated seeds into the net pots
Gently transfer your seedlings or germinated seeds from their initial growing medium into the net pots. Be careful not to damage the delicate roots during the transfer. Ensure that the plants are positioned in the net pots in a stable and upright manner. Avoid overcrowding the pots, allowing each plant enough space to grow and access the nutrient solution.

Testing and Adjusting pH Level
Test the pH of the nutrient solution
Regularly test the pH of your nutrient solution using a pH test kit. Follow the instructions provided with the kit to obtain an accurate reading. The optimal pH range for most hydroponic plants is between 5.5 and 6.5. Testing the pH levels will help you monitor the health of your plants and ensure they can properly absorb essential nutrients.
Adjust the pH if necessary
If the pH of your nutrient solution falls outside the desired range, it’s important to adjust it accordingly. Use the pH adjusting chemicals recommended in your pH test kit to bring the pH level back within the optimal range. Follow the instructions provided with the chemicals and make gradual adjustments to avoid sudden pH swings that may shock the plants.
Nutrient Solution and Watering
Prepare the nutrient solution
Follow the instructions provided with your chosen nutrient solution to prepare it accurately. Measure the appropriate amount of solution and dilute it in water according to the recommended dosage. Stir or mix the solution thoroughly to ensure all nutrients are evenly distributed.
Water the plants with the solution
Regularly water your plants with the prepared nutrient solution. Ensure that the solution reaches the roots of the plants while avoiding excessive water levels that could lead to waterlogging. Monitor the water level in the container and adjust as necessary to maintain optimal hydration for your plants.

Maintenance and Monitoring
Monitor water level and adjust as needed
Regularly monitor the water level in your hydroponic system. As the plants absorb water, the water level will naturally decrease. Maintain the appropriate water level by adding more water or nutrient solution as needed. Avoid overfilling the container to prevent excess moisture and potential root rot.
Check air pump functionality
Periodically check the functionality of your air pump and air stones to ensure proper oxygenation. Listen for the sound of airflow and observe the bubbles rising from the air stones. If you notice any issues, such as reduced airflow or lack of bubbles, troubleshoot the air pump or air stone connections and replace any faulty components if necessary.
Inspect plants regularly
Regularly inspect your plants for any signs of nutrient deficiencies, pests, or diseases. Look for yellowing leaves, stunted growth, or unusual spots or discoloration. If you notice any issues, promptly address them by adjusting nutrient levels, applying appropriate treatments, or seeking guidance from resources or experts in hydroponic gardening.
Harvesting and Troubleshooting
Harvest the mature plants
Once your plants have reached maturity, it’s time to harvest and enjoy the fruits of your hydroponic gardening efforts. Harvesting techniques vary depending on the type of plant you are growing, so research and follow specific guidelines for each plant. Proper harvesting ensures maximum flavor, freshness, and nutrient retention.
Identify and troubleshoot common issues
Throughout the growth cycle of your hydroponic system, you may encounter various issues. Common problems include nutrient imbalances, pH fluctuations, root diseases, and pest infestations. Familiarize yourself with common troubleshooting techniques and seek guidance from hydroponic gardening resources or experts to address these issues effectively.
By following this comprehensive guide, you can successfully set up and maintain your own DIY hydroponic system. Enjoy the benefits of growing plants in a controlled environment and providing them with optimal nutrition and care. Happy hydroponic gardening!


